How to Create a Document Approval Workflow in SharePoint

The use of SharePoint to map out a document approval workflow is crucial for managing an organization’s workflow efficiently. Key benefits include leveraging SharePoint with office automation tools like Power Automate to enhance productivity and ensure accountability. This guide provides a detailed walkthrough on customizing and implementing a document approval workflow, covering essential steps such as configuring document libraries, assigning approvers, and deploying the workflow effectively.
1. Accessing the SharePoint Site where the Workflow will be Created
The first step in creating a document approval workflow in SharePoint is to access the specific site where the workflow will be implemented. Start by logging into your SharePoint account and navigating to the appropriate site collection or team site. Ensure that you have sufficient administrative privileges, as these are required to create and configure workflows.
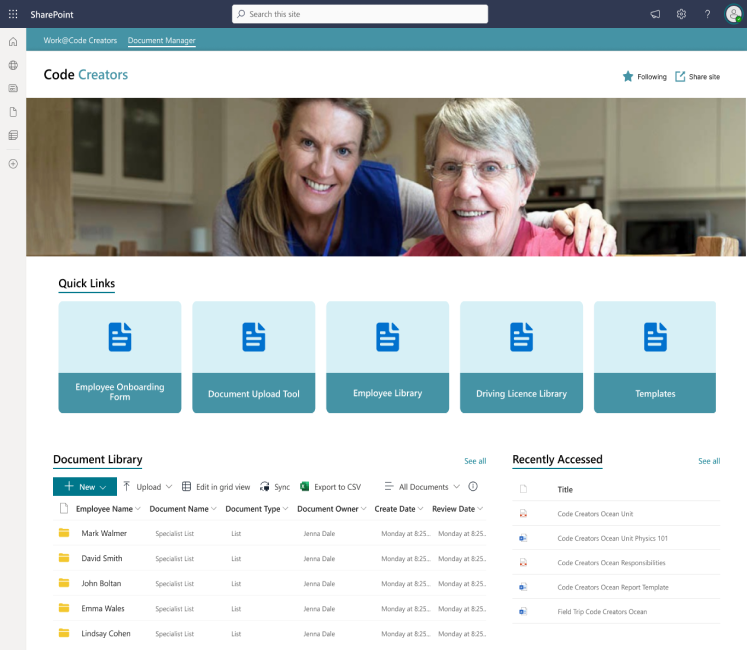
Once in the desired site, locate the document library where the approval workflow will be applied. If no library exists, you may need to create one first. The “Settings” gear icon in the top-right corner of the interface provides access to site settings, from where you can navigate to workflow settings or Power Automate integration.
This stage also includes confirming the SharePoint site meets the requirements you specified, including setting up document libraries with required versions and Power Automate integrations. These features are useful for an effective working environment. Confirming that you are on the right site and that the library is open for approval is an important aspect of the approval workflow. This stage is an important one because any problems that may occur need to be solved before implementation, and your work must take place in the right environment.
2. Creating a New Document Library for Workflow Management
To streamline the document approval workflow, it is recommended to create a dedicated Document Library in SharePoint. It’s a file repository where all documents requiring approval are uploaded and stored.
Start by going to your SharePoint site and clicking on the “New” button to choose the option “Document Library.” Label the library nicely or come up with a well-ambiguous name like Approval Documents, Workflow Library, and so on so that people know what is inside the library. Once the library has been created, set the corresponding options to match the workflow of the project.
You can add custom metadata columns, such as “Approval Status,” “Document Owner,” or “Submission Date,” to provide essential details about each document. These columns will help approvers quickly identify and prioritize their tasks. Additionally, consider creating a folder structure within the library to organize files by department, project, or approval stage.
At this point, it’s also a good idea to set permissions for the library. Limit access to relevant team members and ensure approvers have the necessary rights to review and approve files. By creating a structured document library, you establish a foundation for an organized and efficient approval workflow.
3. Enabling Versioning in the Document Library
One of the important features integrated into the SharePoint system is the ability to work with versions, allowing one to track all the changes made to the documents. When you are in the settings of the concerned document library, go to the option which is named “Library Settings.” After that, you need to go to “Versioning Settings” where you will find the configurations.
It helps you to be able to keep a record of the progress of the workflow of the document to track approvals and also edits. It is possible to set up versioning to retain major versions minor versions or both. In the case of approval workflows, enabling major versions is often enough due to its focus on capturing major changes.
Also, you can restrict the number of versions kept to avoid the library becoming full or overcrowded. For example, you might keep the last 10 versions to not have too high storage usage and still have a sufficiently lengthy history.
Versioning also increases control since each version is attributable to the person who made the change, e.g., the CFO. It is particularly useful in situations where many people are involved in the review and approval of documents. Effective versioning lets you see the flow of activity and revert the approval process to any of the previous versions if necessary.
4. Configuring Permissions for the Document Library
One of the fundamental tasks in initiating the approval workflow in your document library is to set the correct permissions. Permissions define the actions available for a document, including who can only view the content, who can make changes, and who can approve it.
To set up permission on the library, go to your library tab and find the drop-down menu that says `settings”. Go to “Action,” then “Library Settings” and finally, “Permissions for this document library.” Depending on its design, the library will be created with the permissions from the parent site by default. If required, you can stop the permission being inherited by choosing ‘Stop Inheriting Permissions’.
Assign specific roles to users or groups based on their involvement in the workflow. For example, document creators may only need “Contribute” permissions, while approvers require “Edit” or “Approve” permissions. Limit permissions for general users to “Read Only” to maintain control over the workflow.
You can also create unique permission levels for different stages of the workflow. For instance, documents in the “Pending Approval” status might only be accessible to approvers, while finalized documents can be shared with a broader audience.
Configuring permissions ensures that only authorized users can interact with the workflow, enhancing security and maintaining a structured approval process.
5. Navigating to the Power Automate Workflow Tool
Power Automate, previously known as Microsoft Flow, is a powerful tool for creating and managing workflows in SharePoint. To access Power Automate, go to your SharePoint site, click the “Settings” gear icon, and select “Power Automate.” Alternatively, you can find it directly in the Office 365 app launcher.
Power Automate offers a user-friendly interface that simplifies workflow creation. Once you’re in the tool, you can browse pre-designed templates or start from scratch to build a custom workflow. For document approval workflows, look for templates designed specifically for approval processes.
Make sure that you have the permission to use Power Automate. If you are unable to use the tool, check with your IT administrator to enable the feature for your account. Also, make sure the document library that you are going to use is enabled for Power Automate.
When you switch to Power Automate, you are in the right direction of building an efficient approval flow. One more advantage is the ability to combine the libraries, assign tasks, and set up notifications directly in SharePoint, which makes the tool’s workflow experience seamless.
6. Selecting the “Approval Workflow” Template in Power Automate
Power Automate provides a range of templates designed for specific workflows, including document approval workflow. To select a template, open Power Automate, click “Create,” and search for “Approval Workflow” in the templates section. Choose a template that best fits your requirements, such as “Start Approval When a Document is Added to SharePoint.”
Using a template can be advantageous in creating workflows because it is already designed with common steps like submitting the document, notifying the approvers, and tracking their responses. After choosing a template, you can modify it to fit your needs in the best way possible.
For instance, you can set conditions to forward approvals according to document properties like the department or priority. You can also set up notifications so that all the involved parties are aware of the situation at each step of the work process.
By leveraging the “Approval Workflow” template, you save time and reduce the complexity of building a workflow from scratch. The template serves as a foundation that you can adapt to suit your organization’s document approval process.
7. Testing the Workflow before Deployment
Testing is an essential part of the approval workflow to confirm it is working as anticipated. In planning the workflow in Power Automate it is necessary to simulate several cases to check if all the steps are handled correctly. Upload test documents to the library to ensure that, when the workflow is activated, you can track how tasks are generated and managed effectively.
During testing, pay close attention to:
- Triggering Events: Ensure the workflow starts when a document is added or modified in the library.
- Approver Notifications: Confirm that approvers receive timely notifications with the correct details.
- Approval Decisions: Verify that the workflow accurately tracks approval and rejection responses.
- Escalation and Reminders: Test that reminders and escalations trigger are working as expected if deadlines are missed.
One of the key benefits is the ability to leverage test accounts to model the various parties in the workflow like document creator, approver, and manager among others. Check through the logs and notifications for any signs of errors or abnormal system activity. In case of problems, modify the workflow configuration and perform the tests once more. Testing ensures that your workflow is reliable, user-friendly, and free of errors, providing a smooth experience once deployed.
8. Deploying and Monitoring the Workflow in SharePoint
The next step in the process is to adopt the document approval workflow for daily usage if you have successfully implemented it. Save the workflow in Power Automate and make sure that the workflow is applied to the specified document library. Inform your team about the new workflow that is to be implemented and give them a clear set of guidelines on how to utilize it.
Supervise the workflow after it has been deployed so that it would work efficiently. In Power Automate, utilize analytics features to monitor approval deadlines, assess delays, and analyze generalized performance. Logs should be reviewed constantly to identify a mistake or a problem in real-time.
Encourage team members to provide feedback on the workflow to identify potential improvements. For instance, you might adjust deadlines, notifications, or approval stages based on user input. Additionally, update the workflow as your organization’s needs evolve or if new features become available in SharePoint or Power Automate.
Effective deployment and monitoring ensure that your document approval workflow remains a valuable tool for streamlining processes, maintaining compliance, and enhancing collaboration within your team.

Conclusion
Document approval workflow in SharePoint is one of the effective ways of improving teamwork and making the approval process easy. If you go through the steps indicated in this article including creating a new library, setting the workflow for versioning, the permission structure, and testing as seen above then you will be in a position to set the most appropriate system for your organization. Regular check-ups and subsequent modifications will help prevent the workflow from deteriorating while maintaining and enhancing efficiency among employees in different departments.
Code Creators offers expert solutions to help you streamline approvals, improve collaboration, and boost efficiency. Get in touch today to optimize your SharePoint workflows!
Author

Sherry Rajani, is a tie-loathing adventurer and troublemaker who believes in turning ideas into reality. Even though his experience is primarily in Microsoft Cloud and On-Premise Solutions, Sherry has also lead teams building Custom ERPs, Mobile Applications, Data Management and other solutions.
After working in the Toronto Technology Industry for a while, Sherry started his own Technology Consulting Firm, Code Creators Inc., specializing in the Office 365 Stack ranging from SharePoint Online, the Power Platform, PowerBI and Microsoft Teams.